How to Prepare Surfaces for Tape Art
Creating tape art is a dynamic form of artistic expression that has gained popularity in recent years. From geometric patterns to intricate designs, tape art offers a unique way to transform spaces. However, before diving into the creative process, it is crucial to prepare the surfaces properly. Proper surface preparation ensures that the tape adheres securely and the final artwork looks polished. In this article, we will explore effective techniques to prepare surfaces for tape art.
Understand the Surface
Before applying tape to any surface, it is essential to understand the characteristics of the material. Different surfaces require different preparation methods to ensure the tape sticks securely. Surfaces such as walls, floors, and furniture each have unique properties that can affect how well the tape adheres. By understanding the surface, you can choose the appropriate tape and preparation techniques for the best results.
Clean the Surface Thoroughly
One of the most crucial steps in preparing surfaces for tape art is to clean the surface thoroughly. Dust, dirt, and grease can prevent the tape from adhering properly, leading to peeling and lifting. Use a mild detergent and water to clean the surface, making sure to remove any debris or residue. For surfaces that are particularly dirty or greasy, consider using a degreaser to ensure a clean and smooth surface for the tape to adhere to.
Smooth Out Imperfections
To achieve a seamless tape art design, it is important to smooth out any imperfections on the surface. Uneven surfaces can cause the tape to wrinkle or lift, detracting from the overall aesthetic of the artwork. Use sandpaper or a sanding block to smooth out rough patches or bumps on the surface. Pay special attention to edges and corners, as these areas are more prone to lifting. By creating a smooth surface, you can ensure that the tape adheres evenly and securely.
Prime the Surface
For surfaces that are particularly porous or uneven, priming the surface can help the tape adhere more effectively. Primer creates a smooth, uniform surface for the tape to stick to, reducing the risk of peeling or lifting. Choose a primer that is appropriate for the surface material, whether it be wood, drywall, or metal. Apply the primer according to the manufacturer’s instructions, making sure to allow it to dry completely before applying the tape.
Test Adhesion
Before starting your tape art project, it is a good idea to test the adhesion of the tape on a small, inconspicuous area of the surface. This will help you determine if the tape adheres well and if any additional preparation is needed. Apply a small piece of tape to the test area and press firmly to ensure it sticks securely. If the tape peels or lifts easily, consider revisiting the surface preparation steps to improve adhesion.
Protect the Surface
Once you have completed the surface preparation steps, it is important to protect the surface during the tape art process. Use painter’s tape or masking tape to outline the design and protect the surrounding areas from accidental tape placement. This will help you create crisp, clean lines and prevent any damage to the surface during the artwork creation process.
Incorporate Texture
When preparing surfaces for tape art, consider incorporating texture to add depth and visual interest to the final design. Textured surfaces can enhance the overall aesthetic of the artwork and create a unique visual impact. Experiment with different surface textures and materials to see how they interact with the tape and enhance the final artwork.
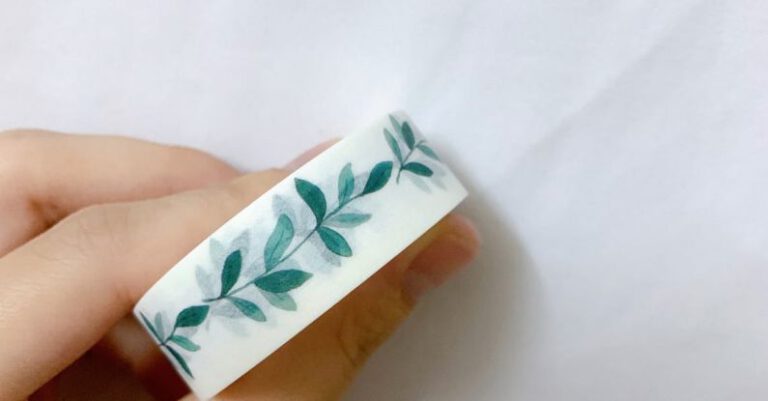
Experiment with Different Tapes
Not all tapes are created equal when it comes to tape art. Experiment with different types of tapes, such as washi tape, masking tape, or painter’s tape, to see which works best for your project. Each type of tape has unique qualities that can affect adhesion, flexibility, and color intensity. By experimenting with different tapes, you can find the perfect fit for your tape art project.
Embrace Creativity
Preparing surfaces for tape art is an essential step in creating a successful artwork. By understanding the surface, cleaning thoroughly, smoothing imperfections, and testing adhesion, you can ensure that your tape art project is a success. Remember to protect the surface, experiment with texture, and embrace creativity to bring your tape art vision to life. With proper surface preparation, your tape art creations will be visually striking and long-lasting.