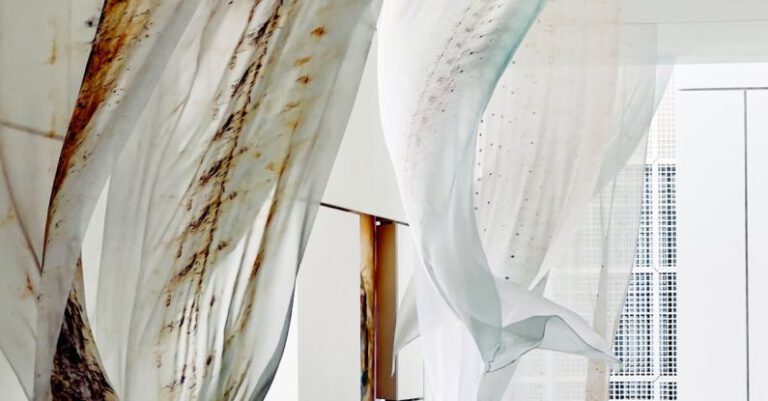
What Are the Best Practices for Symmetrical Tape Art Designs

Creating symmetrical tape art designs can be a visually striking and engaging way to showcase creativity and artistic flair. Symmetry in art has long been associated with balance and harmony, and when applied to tape art, it can result in captivating and mesmerizing pieces. Whether you are new to tape art or looking to refine your skills, understanding and implementing the best practices for symmetrical tape art designs can elevate your creations to the next level.
Choosing the Right Tape
Selecting the right type of tape is crucial when it comes to creating symmetrical tape art designs. Opt for high-quality masking tape or painter’s tape that is easy to tear and manipulate. Avoid tapes that are too sticky or leave residue behind, as they can affect the overall look of your design. Experiment with different widths and colors of tape to add depth and dimension to your artwork.
Planning Your Design
Before diving into creating your symmetrical tape art design, take the time to plan out your composition. Sketching out your design on paper can help you visualize the symmetry and balance of the piece before transferring it to the surface. Consider using a ruler or measuring tape to ensure precision and accuracy in your design. Symmetrical designs often work best when there is a focal point or central axis that anchors the composition.
Achieving Symmetry
When creating symmetrical tape art designs, accuracy is key. Use a grid system or guidelines to maintain symmetry and alignment throughout the design process. Start by marking the center of your canvas or surface and work outward from there. Pay close attention to the placement and angle of each piece of tape to ensure consistency and balance in your design. Take your time and make adjustments as needed to achieve the desired symmetry.
Layering and Detailing
To add depth and complexity to your symmetrical tape art design, experiment with layering and detailing techniques. Overlapping strips of tape can create interesting patterns and textures, while varying the spacing between tape strips can add visual interest. Consider incorporating different angles and shapes into your design to break up the symmetry and create dynamic compositions. Adding small details and accents can also enhance the overall impact of your artwork.
Peeling and Finishing
Once you have completed your symmetrical tape art design, carefully peel off the tape to reveal the final piece. Take your time when removing the tape to avoid tearing or damaging the surface. Use a craft knife or tweezers to help lift and remove any stubborn pieces of tape. If desired, apply a clear sealant or varnish to protect your artwork and enhance the colors and textures of the tape.
Displaying Your Artwork
After finishing your symmetrical tape art design, consider how you will display and showcase your artwork. Frame your piece for a polished and professional look, or hang it directly on the wall using adhesive hooks or mounting putty. Experiment with different arrangements and groupings to create a visually dynamic display that highlights the symmetry and beauty of your tape art designs.
Incorporating these best practices for symmetrical tape art designs can help you create stunning and impactful artworks that showcase your creativity and attention to detail. Whether you are a beginner or experienced tape artist, experimenting with symmetry and balance can open up new possibilities for your artistic creations. Embrace the challenge of working with tape as a medium and let your imagination soar as you explore the endless possibilities of symmetrical tape art designs.